When purchasing security cameras, it’s common for users to inquire whether the cameras record continuously. The answer depends on the model, as some security cameras record consistently around the clock, while others require different recording setups for 24/7 coverage.
Today, the most popular recorders for security cameras include an NVR (Network Video Recorder), a DVR (Digital Video Recorder), a computer (using the computer’s hard drive), a Micro SD card, an FTP server, and Cloud storage. In this post, we will provide an overview of the various recording methods available for security cameras.
Contents
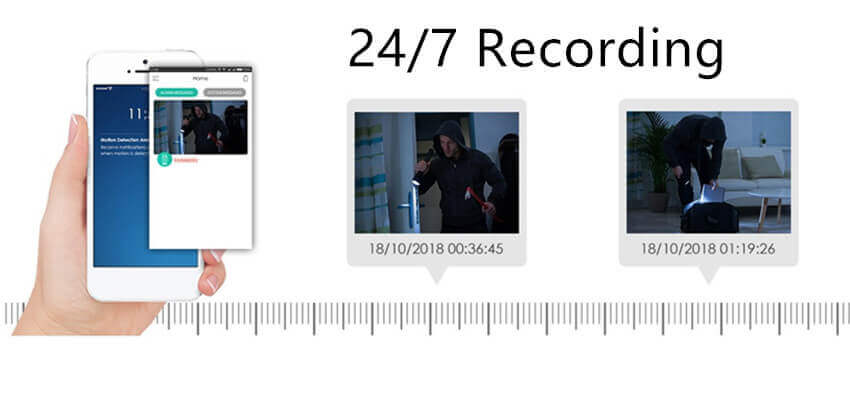
Do Security Cameras Record All the Time?
The recording modes of security cameras can vary depending on the specific model and features. Some surveillance cameras can record continuously, providing around the clock coverage. Others may require different recording setups, such as motion-triggered or scheduled recording.
Zosi cameras, for instance, provide 24/7 recording capabilities if users opt for the appropriate recording and modes. These continuous recording security cameras offer 4K clarity, ensuring thorough daily surveillance.
Keep reading, we will explore five diverse methods for recording video on security cameras, providing valuable insights on how to create an optimal recording setup for your surveillance needs.
Record to NVR/DVR
For optimal video recording on security cameras, it’s recommended to use a Network Video Recorder (NVR) or a Digital Video Recorder (DVR).
Most NVRs and DVRs come with a built-in HDD with a large capacity, ranging from 1TB to 3TB or more. Additionally, you can extend storage capacity by incorporating an external hard disk drive via e-SATA on the NVR/DVR.
By recording security camera footage through an NVR or DVR, you are effectively recording the video directly to the hard disk drive, which can impact how long you can record video and whether or not a 24/7 video recording is feasible.
For instance, Zosi 8SN-2258A, a PoE security camera NVR system, can record both video and audio, ensuring thorough surveillance and making it an ideal choice for users seeking a reliable 24/7 video recording system.
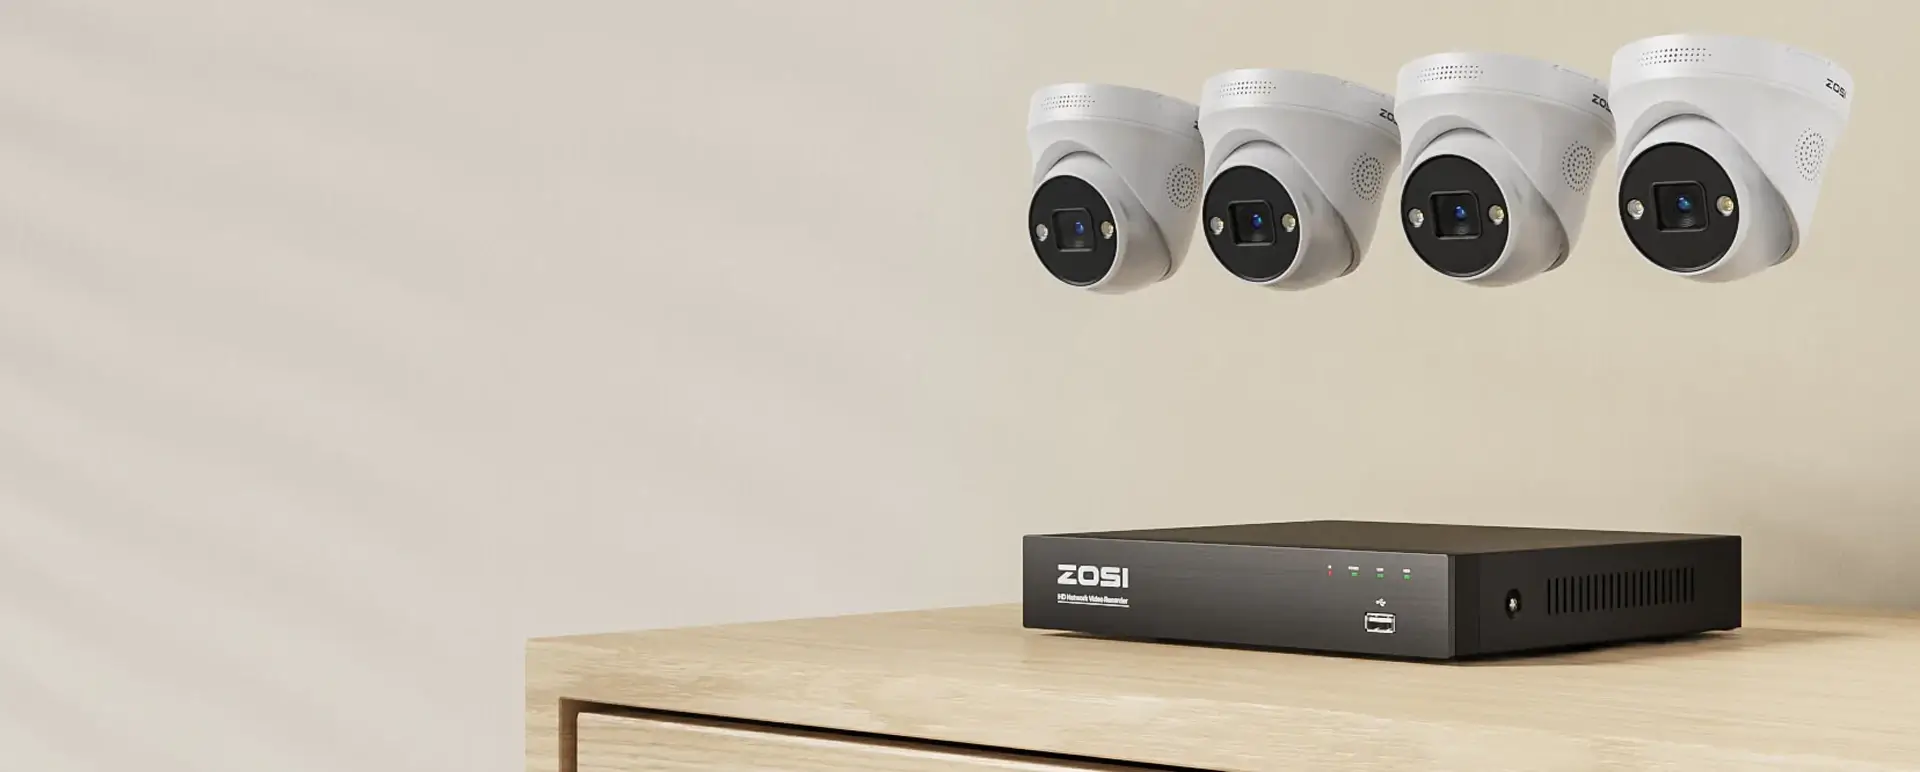
C225 - 4K POE Surveillance Cameras Security Monitor Systems
- 4K Ultra HD
- Smart Person/Vehicle Detection
- Customize Detection Zone
- Starlight Night Vision
- 24/7 Video & Audio Recording
- Access Remotely & Flexibly
- Two Way Audio
Recording security cameras can be carried out without disrupting your network because these systems have their own proprietary networks, which means video recording won’t burden your bandwidths. Security camera systems only access the internet when remote viewing on your mobile phone is necessary, or you want to live stream via your computer.
Selecting a suitable NVR or DVR is crucial when recording security cameras. It’s important to note that several standalone NVRs and DVRs only function well with cameras from the same brand, and other brands’ products may have compatibility issues.
Therefore, it’s recommended to purchase cameras and an NVR/DVR from the same brand, or you can opt for a complete set.
Steps for Continuous Recording Security Camera Video to NVR/DVR
Recording security camera footage to an NVR/DVR HDD is a straightforward process. As an example, let’s take Zosi cameras and NVR.
- Connect the cameras to the NVR recorder.
- Ensure that both the cameras and the NVR have a consistent power supply and are connected to each other for communication.
- Connect the NVR to either a monitor or HD TV. The monitor will display the setting screen.
- Navigate to the video recording settings options.
- Configure the recording setup you prefer, such as 24/7 recording or motion detection recording that begins only when the camera detects movement.
Once these steps have been completed, your surveillance cameras are now recording on the NVR, and you can monitor what’s happening later if you are not in the vicinity. The recorded video can also be exported to an SD card and transferred to a storage device.
If remote viewing is required, such as live streaming on your mobile phone while you’re away from home, connect the NVR to your network by linking it to the router.
This connection permits remote viewing of surveillance cameras in real-time, allowing you to monitor your home or business from anywhere, at any time.
Record to SD Card
Many IP cameras have a built-in SD card, typically with storage capacities ranging from 16GB to 32GB, which is exclusively used for motion event recording. These cameras, such as the Zosi 1NC-298, feature an SD card slot, allowing you to use your own Micro SD card for motion event recording.
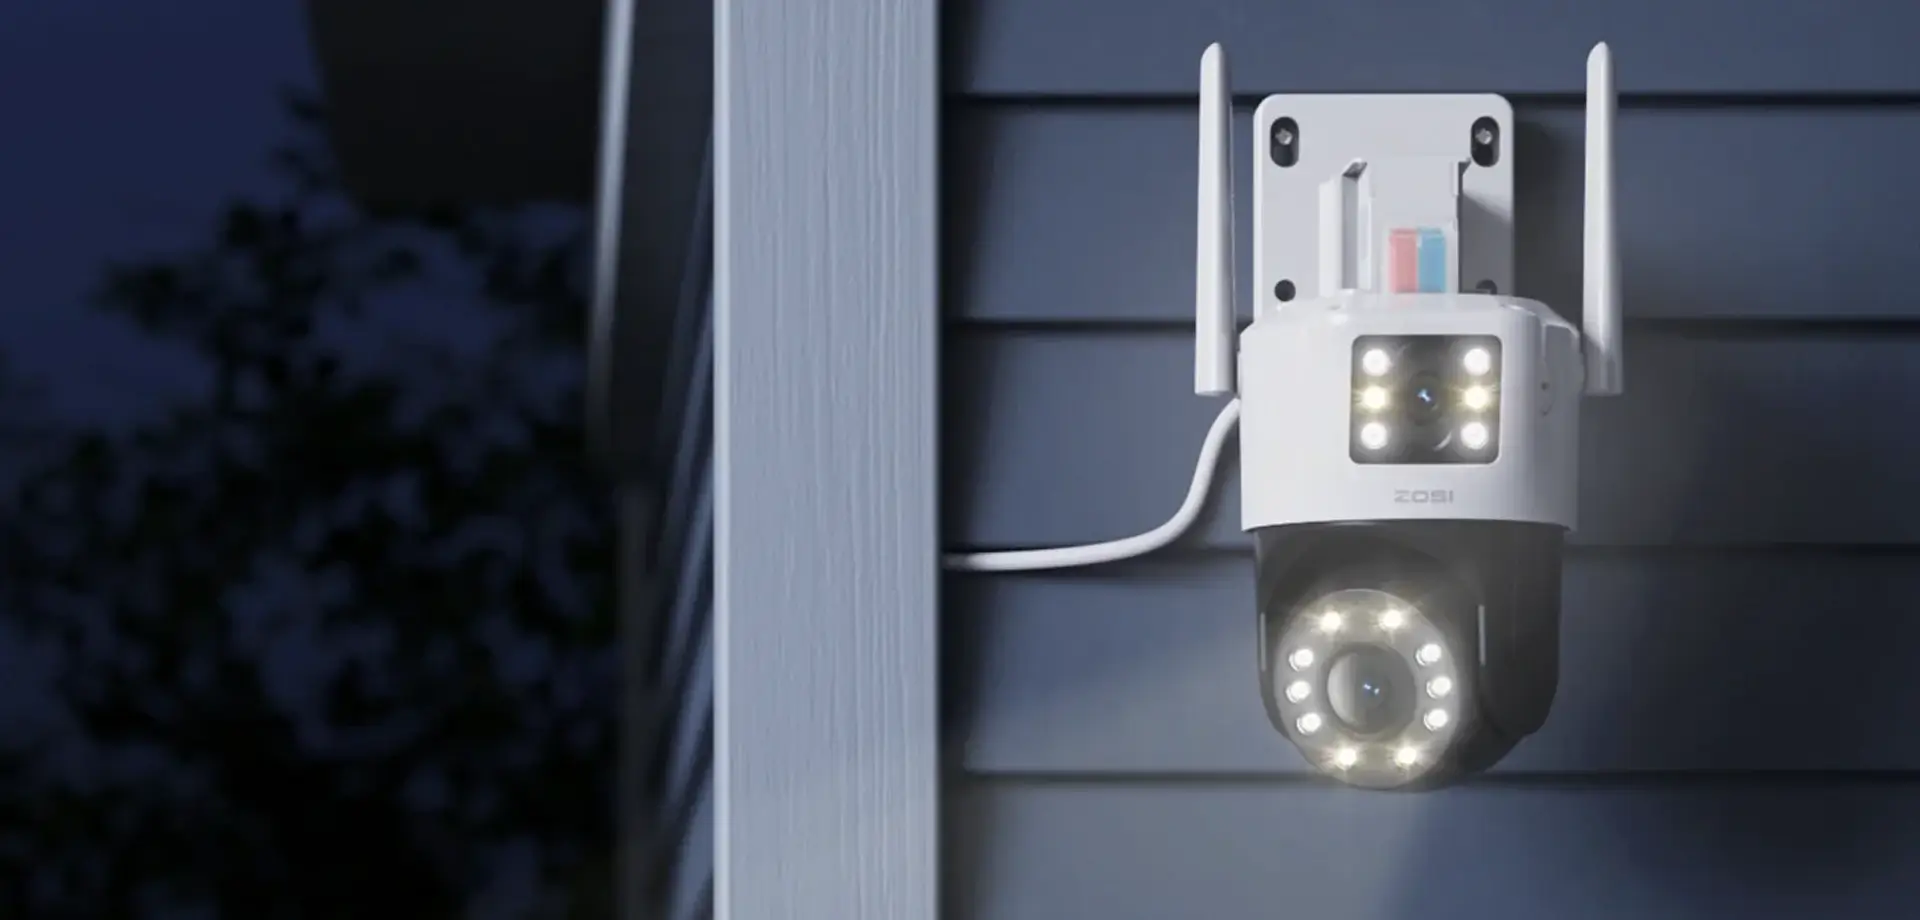
8MP PTZ Wifi Outdoor Camera With Dual Lens - 1NC-298
- 4MP+4MP Dual Lens
- Dual Lens Achieves Ultra-wide Field Of View
- AI Person Detection and Auto Tracking
- Starlight Color Night Vision
- Smart Motion Alerts Push
- Two-way Audio & Customize Voice Alerts
- SD Card Storage & Cloud Storage
Get more details from the SD card security camera system reviews here.
Below is a video shared by a user of 1NC298.
Steps for Recording IP Cameras onto SD Card
- Make sure the IP camera supports an SD card and that the card has been inserted.
- Connect the security camera to the network.
- Run the surveillance camera software/app on a computer with the same network.
- Once the software connects to the camera, configure the desired settings and ensure motion event recording to the SD card is a default setting.
An advantage of recording IP cameras to an SD card is that even if the camera is offline, motion events can still be recorded to the SD card. In addition, this outdoor PTZ security camera is an excellent option for nighttime video recording, providing high-quality surveillance footage.
Incorporating an SD card into your IP camera is a simple and economical way to supplement motion event recording and ensures that your property is protected even without internet connectivity.
Record on Laptop/PC
One of the most cost-effective methods to record security camera footage is to use a laptop or desktop computer. If purchasing an NVR/DVR goes beyond your budget, free surveillance camera software/apps are available for Windows PC or Mac computers to record IP cameras without a NVR/DVR.
Recording wired IP cameras or wireless security cameras to a computer involves saving the footage to the computer’s hard drive or an attached flash or USB drive. A critical aspect of recording security cameras onto a laptop or desktop computer without a NVR/DVR is keeping the computer running continuously.
Steps for Recording a Security Camera to Laptop/Computer/Mac
- Connect the security camera to the network. See the problems and solutions to connect a wireless security camera to network.
- Run the surveillance camera software/app on the computer with the same network.
- Navigate to the video recording settings after the software connects to the camera.
- Configure the video recording options, such as 24/7 recording and scheduled time recording.
- Select the recording path to save the footage.
- Ensure the software and the computer run continually; otherwise, the recording will stop.
By following these steps, you can record security camera footage without having to purchase a pricey NVR/DVR system and still have peace of mind knowing that your home or business is under surveillance around the clock.
Record on an FTP Server
If you want to remotely record security camera footage, setting up recording to an FTP server is a cheap option to consider. Almost all security cameras enable footage recording to a remote FTP server, making it an affordable way to record continuously, provided the FTP server is in the same network as the cameras.
Recording surveillance camera footage to an FTP server follows a similar process to recording to a computer. The settings must be configured via the software/app on a computer.
Steps to Record Surveillance Cameras on an FTP Server Round-the-Clock
- Connect the security camera to the network.
- On a computer with the same network, run the surveillance camera software/app.
- Navigate to the video recording settings after the software connects to the camera.
- Configure the video recording options, such as 24/7 recording or motion detection recording.
- Select the recording path on the FTP server where you want to save the footage.
- Save the settings, and close the software and the computer.
It’s essential to ensure that the FTP server remains operational all the time during the recording process.
By following these steps, you can monitor the security status of your home or business with ease, knowing that your surveillance systems are constantly recording.
Record to Cloud
Recording security camera footage to the cloud is the most costly way to record video continuously. While some cloud providers offer free storage, additional storage is typically required, which can become expensive over time.
However, Zosi offers affordable cloud storage options and even provides free storage capacity at specific times. For more detailed information regarding cloud storage, please refer to “Top Things to Know About Free IP Camera Cloud Storage.”
Steps to Record a Security Camera to Cloud
- Select a cloud storage provider.
- Create an account.
- Select a plan based on your needs and budget.
- Contact the company for additional details
- Follow the guide provided by the provider to record footage from your security camera to the cloud.
Setting up the settings for recording security cameras to the cloud typically takes only a few minutes, just like recording to an NVR/DVR, an SD card, a computer, or an FTP server. By considering your specific needs and budget, you can choose from a range of options to record camera footage continuously and with ease.